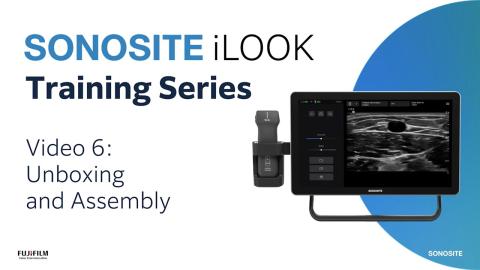
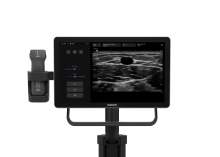
- [Narrator] Welcome to Sonosite iLOOK,
designed for vascular access.
In this educational video,
we will be covering taking images and clips.
First, always ensure the correct patient ID
is displayed before saving any images or clips
to avoid mixing up patient data.
During live imaging, tap the camera button
to save a still image.
There are two ways to freeze,
by clicking the snowflake icon on the interface,
or by short pressing the power button on the transducer.
To save an image from the cine buffer, first press Freeze
and use the cine slider to scroll through previous frames.
Then tap the camera button to save your desired image.
To save a video clip, tap the Clip button
and start recording,
and tap it again to stop when you're done.
You can set the duration of your clips
in the system menu, Settings screen.
Tap Application settings, then Clip time.
To review your saved images and clips
from your current exam, tap the images icon.
You can tap a thumbnail image to view it full size,
place saved clips
and scroll through your saved media.
To delete images or clips, tap select
and tap one or more thumbnails.
Then tap the Delete button.
Confirm to remove them from the exam.
To return to scanning, tap Scan or Done.
To prevent data loss, it is recommended
to regularly export your studies.
There are multiple options for image archival,
via USB storage device,
wirelessly via DICOM Server, or by printing images.
When you've finished, tap the End study button
to close the exam.
Remember, you can only end an active study.
To exit the image application,
tap the system menu icon
in the top right-hand corner and select Quit.
You'll return to the three module home screen.
Now it's time for you to explore on your own.
Watch more Sonosite iLOOK how-to videos online
and refer to the System User Guide on sonosite.com.